Metal roofing installation can be an appealing improvement to traditional asphalt shingles. This is a massive upgrade to your existing roof. Metal roofing can not only save energy, but for several years, several forms of metal will survive the elements.
Although the construction process can be done as an advanced DIY job, depending on the type of panels or shingles you choose, it is difficult and can differ slightly. With one or two volunteers and fall safety devices built for roof work, we suggest that you complete this job.
Install Metal Roofing On Your House: Step-by-Step Guide
Metal roofing is not an easy task and is normally done by expert roofing installation experts in Cape Cod. However, you can also do it yourself.
This tutorial will show you the styles of metal roofs and will provide you with step-by-step guidance on how to install a metal roof on a house.
-
Choose Your Options Wisely
Points to take into account before you start:
It’s essential to understand the difference between the different styles of metal roofs accessible, whether you are trying to build a metal roof on a shed or a home. Let’s have a look at the most popular styles of houses with metal roofs.
Tin: The most widely used form of metal roofing is tin, an inexpensive choice and simpler to lay than shingles. Not tin, but galvanized steel or aluminum is mostly the material used. Even though it is robust, whether rain or wind happens, it can make a little noise.
Copper: Copper roofing is often chosen mostly for its aesthetic because it would not rust or need extra painting. While it can be pricey and a little tougher to build, copper roof panels can survive extreme weather, burn, and are light enough to place a lot of weight on your house’s construction.
Aluminum: Compact and resistant to corrosion, owing to its resistance to saltwater corrosion, aluminum is a perfect choice for coastal climates. It is important to remember that it has to be painted and can be dented.
Steel: Steel roofing can be expensive, but it is an expenditure for a lifetime. If you are building a steel roof over concrete, noise is typically not a concern. The most popular form of steel roofing is galvanized steel, which is produced by using a soft layer of zinc to cover the inner layers.
Zinc: Long-lasting, resistant to corrosion, and reusable, zinc can be weakened by hail or harsh weather and is a lighter metal. It will be a good option for a warm environment, owing to its higher cost and soft surface.
Corrugated metal roof panels: While they were not deemed the best metal roofs for buildings, due to their strength, energy efficiency, and corrosion resistance, corrugated metal panels are gaining popularity.
-
Take Measurements Of Your Roof
Find the width and length of the rooftop from the field below. Use a measurement instrument to get the exact metal roofing installation material you need.
- By placing a carpenter’s level on the underneath of one rafter in the attic, work out the angle of the roof. Measure the vertical gap (rise) to the underneath of the same rafter from the 12-inch point on the level (run).
- The slope is measured as rising overrunning. For instance, your slope will be 6:12 or 6/12 or 0.5, expressed as a decimal if the vertical height was 6 inches.
- Multiply the slope by the field. In your roofing project, the total square footage is the result.
- Order the square footage for roofing materials and apply 10 percent more for excess.
- At the very same time as your metal roofing plates, make sure to order your roofing screws so that you fit the shades.
-
Repair Or Remove Old Roofing
- Begin from the top of the roof and, together with the flashing, underlying, and vents, strip the old shingles.
- Hammer down any huge nails that the disposal exposes.
- Investigate and make any necessary repairs to the underlying roof sheathing for injury.
- As recommended by the roofing maker, add a sheet of roofing insulation.
-
Edging Installation
- Using 1 1/4-inch nail to cover the roof’s outline with flickering metal eave bars, often called edging.
- Position corner parts at the roofing edge where panels can meet bends.
- The eave flashing can be installed to overhang the edge of the gutter by around 1/2-inch if there are gutters installed on the eaves.
-
Metal Planes Or Shingles Installation
- Place the first metal roofing panel such that the side overlaps by 1/2 to 3/4 of an inch and the roofline is square.
- Make careful to lay the greater edge such that it can cover the small edge of the next panel.
- Vertically mount the roofing screws around each rib in the panel. Position the very first screw about 7 inches from the bottom and each corresponding screw along the vertical run about 18 to 24 inches apart.
- Protect the screws without over-tightening them. The washer under the screw head should seal without bulging or moving to the surface of the panel.
- Execute a 100 percent silicone sealant bead around the underside of the next panel’s short lip. Mount the panel so that the broad lip can align with the short lip. The silicone will stretch and stick, forming a bond.
- As mentioned, screw the new panel into place.
- Proceed to install panels before they cover the roof. You will need to use a circular saw with a metal-saw blade to cut panels to match angles.
-
Roof Ventilation Installation
A roof vent construction kit will have everything you need to vent your roof.
- Evaluate the vent housing and label off the area on the roof before deciding the location of the roof vents. Leave space on the outside of the opening of the vent where it sits on the roof.
- Label the outline of the necessary roof cuts, then use a skill saw to slice the marked space. When finished, you must be able to see the inside of the attic.
- To the sides of the hole, add a coat of sealant, then put the vent in position.
- If required, drill starter holes, then sew the vent down with the fasteners in the installation kit.
- Inside, add a second coat of sealant along the lip of the tube. Then step into the attic and add the opening and vent to the underside.
- Lay the cover over the opening of the vent and screw it in place.
-
Flashing Installations
- Flashing is a metal trim that fits over joints where two roof sections meet. It serves to maintain the roofing dry by steering water away from the meeting points.
- To match over the top feathering and the ends where the panels cross, bend the flash into a V-shape.
To better guide water, the flashing can overlap the roof edge by one inch.
-
Safety Considerations
Understanding the safety procedure is the most significant step before studying how to build a metal roof. When operating above ground, please make sure to emphasize protection.
- Gloves and protective goggles should be part of the equipment for the roofing and worn to avoid injuries at all times. If operating above ground, always prioritize protection.
- Make sure no electrical wires are dangling over the roof or low branches.
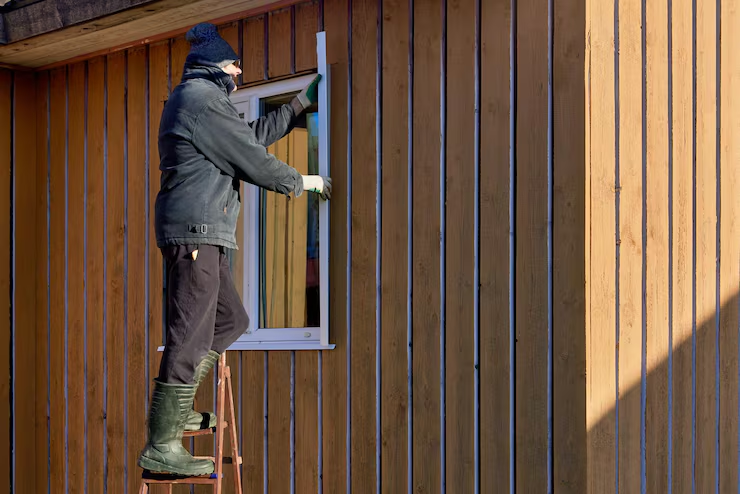
- At the base and the point of the roof touch, lock your ladder. Test the ladder to make sure it is not going to shift under your weight.
- Use adequate fall safety devices and make sure that the device is properly anchored to the roof studs.
- When engaged in roof work, wear appropriate safety shoes.
Get Services From The Best in Cape Cod
While this article will give you a clear understanding of what is normally important for a metal roof to be built, the procedure can be very complicated and risky. It is also a good call to delegate a metal roofing installation projects to a competent installer like Corey & Corey in Cape Cod. Call us at 508-775-8240 and get a free quote.